

How to prepare your car for autumn: keep it clean and protected
Warm on the sofa with a cup of coffee, rain tapping against the window. The temptation to stay inside is strong. We get it.
So why deal with your car when it is going to pour all day anyway? Because you pay for it in spring. Outside, the leaves are coming off the trees, and those leaves are exactly the problem.
Wet leaves on your bonnet are not decoration. They hold moisture and release tannic acid, and that works into your clear coat for as long as you leave them there. The result? A leaf-shaped mark you can still see in March, when the sun catches it at an angle. Or windows that fog up in the morning and only clear once you are on the motorway.
Deal with it now and one Saturday morning is all it takes. Below you will find what you need, what order to work in, and why that order matters.
- Why leaves on your paint do so much damage
- Step 1: lift the loose dirt and the tannic acid
- Step 2: clear the wheel arches and the drains
- Step 3: hand wash with the two-bucket method
- Step 4: rinse and dry
- Step 5: seal the paint
- Step 6: streak-free vision
- Step 7: protect the interior
- Frequently asked questions
Why leaves on your paint do so much damage
Most people think leaves are harmless. They are not. A wet leaf sitting on your bonnet for a week does two things. First, it traps moisture underneath, and that moisture has nowhere to go. Second, it releases tannic acid, the same compound that makes red wine stain a white tablecloth. That acid etches slowly into your clear coat, and the longer you leave it, the deeper it goes.
The damage does not always show up immediately. You might not notice it until spring, when the light hits the bonnet at a low angle and you see a leaf-shaped patch where the gloss has gone flat. By then, the fix is a machine polish, not a wash.
The guide below works through all of it, in the order that makes sense.
- Two buckets, ideally with grit guards
- A microfibre wash mitt
- Four or five clean microfibre cloths, a drying towel and two glass towels
- A pressure washer, or a garden hose
- Foam Force, the snow foam for your pre-wash
- Super Shampoo for the contact wash
- Surface Shield for protection
- Master Glass for the glass
- Interior Icon for the interior and for stains in upholstery
- Cockpit Care for the plastics
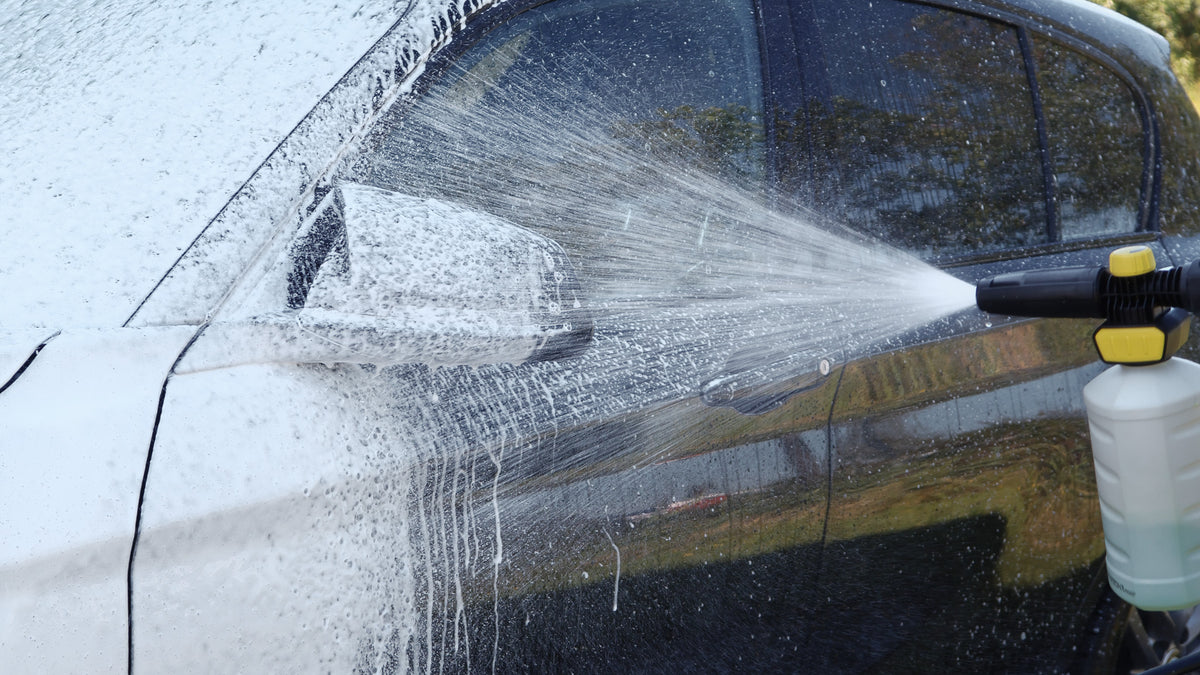
Step 1: lift the loose dirt and the tannic acid
Before you touch the car with a mitt, you need to break the bond between the dirt and the paint. That is what the pre-wash is for.
Give the car a first rinse with your hose or pressure washer to knock off the loose material. Then apply Foam Force across the whole car, working top to bottom. Let it sit for five minutes. You will see it go to work on the road film, lifting the tannic residue and loosening everything that a contact wash alone would just push around and drag across the paint.
Rinse it off completely. The car will not be clean yet, but you have removed the layer of contamination that would otherwise scratch the paint the moment your mitt touches it. That is the point of the pre-wash, not to clean but to make the wash safe.
Step 2: clear the wheel arches and the drains
This step gets skipped, and it should not. The wheel arches are where mud, leaf debris, and road salt compact into a layer that never fully dries out. That damp, packed material is where rust begins.
Use your pressure washer to blast out the arches, working from the inside edge outward. Then clear the drain channels at the base of your windscreen and the channel in the bonnet. These fill with leaves and hold standing water that sits against the bodywork and the rubber seals. Give them a thorough flush.
Check the boot too, along the lip where the rubber seal meets the bodywork. Lift the surround if you can and clear anything that has collected underneath. Five minutes here prevents problems that are expensive to fix later.
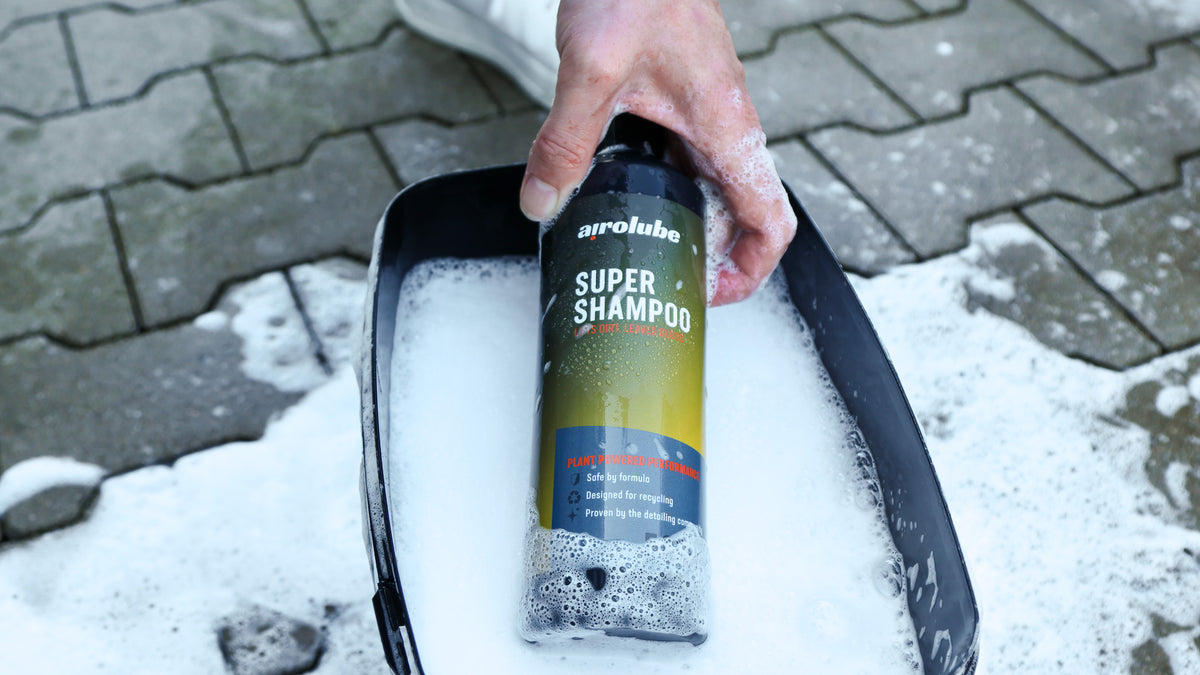
Step 3: hand wash with the two-bucket method
Fill one bucket with water and a measured dose of Super Shampoo. Fill the second with clean water. Put a grit guard in both if you have them.
Start at the roof. Load the mitt from the soapy bucket, work one panel at a time, then rinse the mitt in the clean bucket before reloading. The grit guards trap what the mitt picks up so it does not go back onto the paint. That is the entire logic of the two-bucket method, keeping the contamination out of the wash water.
Work methodically: roof, then bonnet, then the sides, saving the lower panels and sills for last. These carry the most contamination. Keep the car wet as you go so the shampoo does not dry on the surface. Straight strokes, following the lines of the car. Not circular.
Step 4: rinse and dry
Rinse from the top down, making sure you clear all the shampoo out of the door shuts, the mirrors, and the panel gaps. Soap left in these areas dries white and streaks down the bodywork the next time it rains.
Dry the car with a clean drying towel while the panels are still wet. Blot and drag rather than scrubbing in circles. Work quickly on the glass and the roof before they dry in the air.
Do not let the car drip dry. The water sitting on your paint contains minerals, and those minerals leave spots when the water evaporates. A methodical dry takes ten minutes and removes the problem entirely.
Step 5: seal the paint
The wash removes everything from the surface. Now is the time to put protection back on, before the car goes back out into the autumn roads.
Apply Surface Shield to one panel at a time. Work it in with a clean microfibre cloth using light, overlapping passes. Buff off the residue with a second cloth before it hazes. You do not need much. A thin, even layer does more than a heavy application that is difficult to remove.
Surface Shield creates a hydrophobic layer that causes water to bead and run off rather than sit on the paint. Rain still hits the car, but it takes the dirt with it as it runs off instead of drying in place and leaving a film. That keeps the car cleaner for longer through the wet months, and it means your next wash is easier too.
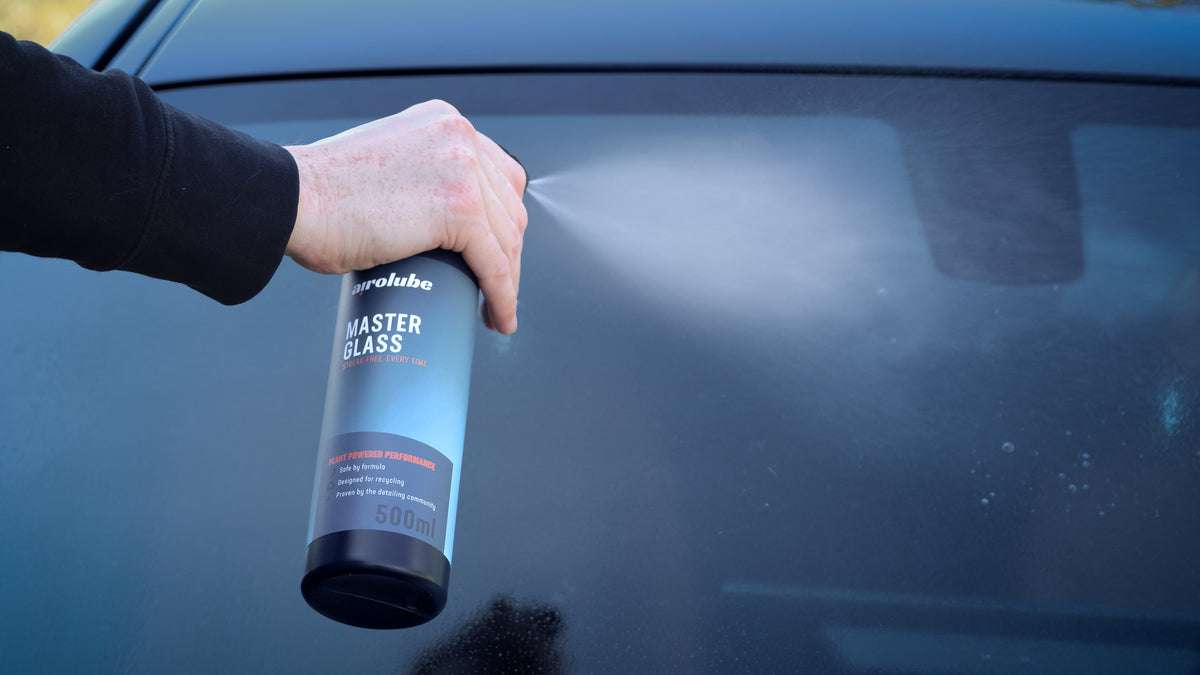
Step 6: streak-free vision
Glass is where most people go wrong. Most glass cleaners leave a smear the moment they catch direct light, particularly at the low sun angles of autumn and winter mornings.
Spray Master Glass onto the glass and start with the outside of the windscreen. Work it across with a clean glass cloth, then buff off with a second dry cloth before it dries on its own. Then do the same for the rear glass and the side windows.
Move inside. The inside of the windscreen collects a film from plastics off-gassing and from breath condensation over time. That film is exactly what causes the blinding glare when you drive into low winter sun. Work across the screen in overlapping strokes with a lightly loaded cloth. Two cloths per window: one to apply, one to finish.
Step 7: protect the interior
Close the doors and move inside. The interior takes its own kind of autumn punishment: wet seats from damp clothes, mud on the carpets, and plastics that go dull from low light and dry air.
Spray Cockpit Care onto a microfibre cloth rather than onto the surfaces themselves, and work it into all the hard plastics on the dashboard, door cards, and centre console. It feeds the material without leaving a greasy film or an artificial shine. The result is a clean, matt finish that does not catch fingerprints.
For fabric stains from muddy shoes or spilled drinks, apply Interior Icon directly to the stain, work it in gently with a cloth, and blot out. Do not rub. Lift the stain out. On leather, apply sparingly to a cloth and work it in with the grain. A little goes a long way, and it leaves the leather conditioned rather than coated.
Frequently asked questions
Once at the start of autumn is the minimum. A full detail now removes what summer has left on the paint and gives you a protected surface before the wet months. If you can do it again in November, do it. But one proper session done well beats four quick washes that leave contamination behind.
You can, but it makes the drying and protection steps harder. If rain is forecast within two hours of finishing, skip the Surface Shield and come back to it when you have a dry window. The wash itself is fine in light rain. Heavy rain just adds more water to manage.
No, but it helps. A garden hose works for the rinse and most of the foam application. Where a pressure washer earns its place is in the wheel arches and the drain channels, where hose pressure alone often is not enough to shift compacted debris. If you do not have one, work the arches with a brush before you foam and flush them as well as you can.
On a well-prepared surface, Surface Shield lasts four to six weeks of regular driving before it needs reapplying. In autumn and winter conditions with heavy rain, expect closer to four. The check is simple: if water is still beading and running off after a shower, the protection is working. If it is sitting flat on the surface, it is time for a reapply.
Foam Force, Super Shampoo, Surface Shield, Master Glass, Interior Icon, Cockpit Care. Everything in this guide, in one place.