
Bike Chain Wax Melting Pot: What Works and What Doesn't
Quick Summary
A chain wax melting pot holds hot-melt wax at a steady working temperature so you can dip a chain and draw out an even coating. Dedicated melters tend to hold temperature more consistently than improvised pots, which depend more on your own monitoring.
- Work from the wax label's stated working range rather than a generic temperature figure.
- A dial shows a setpoint, so verify the actual wax temperature with a digital probe thermometer.
- Preheat the pot with the lid on and let it stabilise before the first dip.
- Degrease and fully dry the chain before dipping, since trapped moisture prevents wax bonding.
- Hot wax can burn, so use gloves and eye protection and never smother overheating wax with water.
Table of Contents
- What a Chain Wax Melting Pot Does and How It Works
- Dedicated Wax Melters Versus Improvised Pots and Tins
- Temperature Control and Recommended Wax Temperatures
- Using a Slow Cooker for Chain Waxing: Pros, Cons and Risks
- How to Wax a Bike Chain Step by Step
- Choosing a Complete Bike Chain Waxing System
- Safety, Burn Prevention and Wax Handling at Home
- Start Your Chain Waxing With Airolube Chain Wax
- Frequently Asked Questions
What a Chain Wax Melting Pot Does and How It Works
A chain wax melting pot holds hot-melt wax at a steady working temperature so you can dip a chain in it and draw out an even coating. Most riders use one because the wax is solid at room temperature and must be liquid to penetrate the rollers and pins of a chain. Without a controlled heat source, the wax either stays too thick to flow into the links or overheats and breaks down.

The basic process is simple. You melt the wax, submerge the cleaned and dried chain, agitate it briefly, then hang it to drain and set. The melting pot is only the heat source and the container, but the quality of the result depends heavily on how stable that temperature stays throughout the job.
Dedicated Wax Melters Versus Improvised Pots and Tins
A dedicated wax melter is built for this one task. It has a fixed capacity, a heating element and usually a basic temperature control. Improvised options include a saucepan on a camping stove, a metal tin on a hob or a slow cooker. Each can work, but they differ in consistency and in how much attention they demand.
Dedicated units are built for this single task and typically hold a target temperature more consistently than improvised options. Improvised pots are cheaper to start with but depend on your own monitoring. A small, dedicated melter can reduce guesswork for riders who wax their chain regularly.

Temperature Control and Recommended Wax Temperatures
Temperature is the variable that most affects a clean, even coat, and it is where cheap melters and improvised pots diverge most. Too cool and the wax clumps on the chain and fails to penetrate the rollers. Too hot and the wax thins excessively, smokes, or degrades, paraffin-based blends can scorch and lose their lubricity, and some formulations release irritating fumes well before they visibly smoke.
Work from the wax label, not from a generic figure. Most hot-melt chain waxes specify a working range rather than a single number, and the range differs by blend. A typical paraffin-based chain wax sits in the region of 70-90 °C, while some blends with added friction modifiers or softer base waxes run cooler and some harder racing blends run hotter. Treat any figure you find online as a starting point and the product label as the authority. If your wax came with a stated range, stay inside it; if it did not, ask the manufacturer before you melt a full batch.
Why thermostat accuracy matters more than the dial. A melter's dial shows a setpoint, not the wax temperature. In practice, the wax in the pot lags the element, overshoots after a cold start, and cools sharply when a cold chain goes in. A pot with a wide dead band can swing several degrees either side of the setpoint across a single session, which is enough to change how the wax flows into the links.
How to hold a stable temperature through a full session:
- Preheat the pot with the lid on and let it stabilise for several minutes before the first dip; the first dip of the session is where overshoot is most likely.
- Warm the chain slightly before it goes in, a chain straight from a cold shed will pull the wax temperature down and thicken the coating around it.
- Keep the lid closed between dips and stir the wax gently before each chain to even out hot and cool zones near the element.
- Dip one chain at a time unless the pot's capacity and recovery behaviour clearly support a multi-chain batch.
- Re-check with the probe every few sessions; a failing thermostat often drifts before it fails outright.
Matching the pot to the wax and the batch size. Not every melter suits every wax. Harder blends need a higher melt point and a pot that can hold it without cycling; softer blends can be overworked by a pot that runs hot. Minimum fill levels matter too, a pot run with too little wax heats and cools faster and is harder to control, while an overfilled pot risks overflow when a chain displaces wax. If you wax several chains at once, check that the pot recovers to temperature between them rather than assuming it will.
Watch out: a pot that reads correctly on the dial but smokes or smells acrid is running hotter than the wax wants, cut the heat and verify with a probe before the next dip.
Using a Slow Cooker for Chain Waxing: Pros, Cons and Risks
A slow cooker is a popular improvised option because it holds a steady low heat for long periods. It is easy to find and affordable, and its ceramic insert is deep enough to submerge a chain.
The drawbacks are real. Slow cookers are designed for food, and their low settings may not reach the melt point of every wax, while their heating is less responsive than a dedicated unit. The insert and lid are also difficult to clean once wax has set. If you use one, dedicate it to waxing only, never return it to the kitchen, and check the temperature with a probe before every use. Never leave it unattended while it is heating.
How to Wax a Bike Chain Step by Step
Work in a ventilated space, on a surface that can tolerate drips, and wear gloves and eye protection.
Preparing and Degreasing the Chain Before Waxing
Remove the chain from the bike if possible, since a clean, dry chain is essential. Degrease it thoroughly to strip old oil, grit and grime, then rinse and dry it completely. Any moisture trapped in the links will prevent wax from bonding and can cause bubbling in the pot. Leave the chain to air-dry or warm it gently before dipping.
Dipping, Agitating and Draining the Chain
Lower the chain into the melted wax and let it soak until bubbling slows. Agitate it gently to push wax into the rollers and pins. Lift it out slowly, then hang it on a drip stand or hanger so excess wax runs off. Once it stops dripping and cools, wipe away any surplus from the outside of the chain. Remember that a little wax on the surface is normal; the goal is coverage inside the links.
Choosing a Complete Bike Chain Waxing System
If you want everything in one purchase, a complete system bundles the chain wax with the cleaning supplies you need before and after waxing. The Ultimate Bike Cleaning Kit (with Chain Wax) at €64.95 includes the Ultimate Chain Wax alongside cleaning products, which suits riders setting up their maintenance routine from scratch.
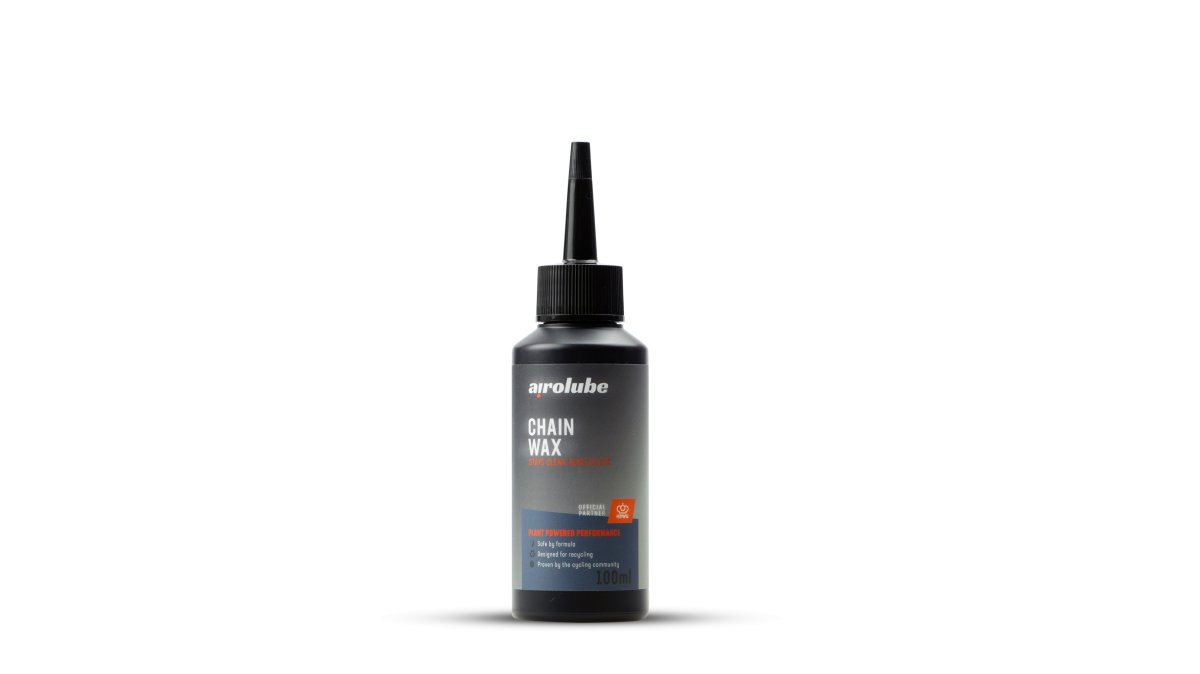
If you already have a degreaser and only need wax, the Ultimate Chain Wax 100ml at €24.95 is the standalone option. For riders who prefer a more affordable wax for dry conditions, the Chain Wax at €13.95 is the lower-cost choice. The All Season Wax at €15.95 suits riders who ride through changing weather. Compare the total cost of your whole setup, not just the wax price, when deciding.

The article compares the complete kit and standalone wax options at a glance.
| Product | Price | Best for |
|---|---|---|
| Ultimate Bike Cleaning Kit (with Chain Wax) | €64.95 | Setting up a maintenance routine from scratch |
| Ultimate Chain Wax 100ml | €24.95 | Riders who already have a degreaser |
| Chain Wax | €13.95 | Lower-cost wax for dry conditions |
| All Season Wax | €15.95 | Riders facing changing weather |
Price
Safety, Burn Prevention and Wax Handling at Home
Hot wax is the main hazard in home chain waxing, and it is a hazard most guides underplay. Melted chain wax sits well above the temperature that causes a serious burn, it clings to skin, and a pot knocked over at working temperature can spread burning wax across a bench. Treat the melter the way you would treat a deep fryer.
Placement and stability. Set the melter on a stable, heat-resistant surface at a height where you are not reaching over it, and keep the cable clear of the pot so it cannot be snagged. Keep the pot back from the edge of the bench, away from children and pets, and never move it while it holds liquid wax.
Electrical safety. Buy a melter that carries a CE marking and is rated for the mains voltage and plug type used in your home, and plug it into a circuit protected by an RCD, particularly if you are working in a shed, garage or outbuilding where damp is possible.
Burn prevention and handling. Wear nitrile or heat-resistant gloves and eye protection, and use a dedicated chain hook or wire rather than fingers to lift the chain. Keep a lid within reach: if the wax overheats and flares, smother it with the lid, never use water, which will spread burning wax.
Ventilation. Melt wax in a ventilated space, an open door or extractor fan, and avoid breathing directly over the pot. Some waxes and additives give off fumes as they approach their upper working range, and the smell is a useful early warning that the pot is running hot.
Cleaning and disposal. Let spent wax cool and set in the pot, then lift it out rather than pouring it down a drain, where it will set and block the pipe. Dispose of set wax through your local household waste recycling centre rather than the kitchen bin where local rules allow, and keep wax-soaked rags away from heat sources. Dedicate any improvised pot, slow cooker insert or tin to waxing only and never return it to food use.
Watch out: a pot left unattended while it heats is the single most common cause of a wax flare-up, stay with it until it reaches temperature and switch it off at the wall when you are done.
Start Your Chain Waxing With Airolube Chain Wax
Airolube's plant-based chain wax is a practical starting point for home waxing. Pair it with a dedicated melter and the steps above, and you will have a quieter, cleaner drivetrain that needs less frequent attention. Browse the full range at Airolube to find the wax that suits your riding conditions.
Frequently Asked Questions
What is the best pot for melting bike chain wax?
A dedicated wax melter with a thermostatic control is the most reliable choice because it holds the wax at a steady temperature. A stainless steel pot with a thermometer works if you monitor it closely. Avoid thin aluminium pans that create hot spots and overheat the wax. Choose a pot large enough to submerge the full chain loop, and keep it used only for wax so you do not mix wax residue into food preparation.
Can you use a slow cooker to wax a bike chain?
A slow cooker can melt chain wax, and many cyclists use one because it holds a fairly steady low heat. The main risk is that slow cookers often run hotter than the wax needs, and their temperature is not always precise. Use a thermometer to check the wax, and keep a dedicated slow cooker for wax rather than food. Never leave it unattended while it heats.
What temperature should bike chain wax be heated to?
Chain wax should be heated to the temperature stated on the product label, and the wax should be fully liquid without smoking. Check the Airolube Chain Wax and Ultimate Chain Wax instructions for the recommended application temperature. Using a probe thermometer rather than relying on a dial setting gives more accurate results, and wax that overheats can degrade and smell burnt.
Is a dedicated chain waxing system worth it?
For regular waxing, a dedicated melter can help keep the process consistent compared with improvised tins on a stove. Occasional riders can usually manage with a simple pot and a thermometer, while frequent riders benefit most from the convenience of a complete kit.
